How do I connect Memoryboard to a Wi-Fi network?Updated 2 months ago
Connecting Memoryboard to your Wi-Fi network
When setting up your Memoryboard for the first time, you'll be prompted to connect to your WiFi network. When you're on the WiFi screen, follow the steps below to connect:
- Select your network
- Enter your password (if required)
- Hit "Ok" followed by "Confirm" at the bottom of the screen (the purple button will always say 'Confirm' and will not change depending on whether you are connected or not)
You will see "Connected" under your network name, indicating that you have successfully established a connection.
If you've already set up your Memoryboard, you can check or change your WiFi connection by swiping down on the date/time at the top of your Memoryboard and clicking on the WiFi icon 🛜. This will be important if you're setting up your Memoryboard at a loved one's after you've tested it yourself.
Troubleshooting
If your Memoryboard fails to connect to WiFi, follow these steps:
- Go back to the WiFi screen by swiping down on the date/time at the top of your Memoryboard
- Click on your network name
- You will be asked if you want to disconnect from your network; select 'Ok' or 'Yes'
- Do a hard reset of the Memoryboard by powering off using the button on the back of your Memoryboard, unplugging it, and plugging it back in.
- Memoryboard will go through a 30-60 second loading process
- Go back to the WiFi menu
- Click on your network name and re-enter your WiFi password
💡When entering your WiFi password, you can click on the eye icon on the right side of the password field to see exactly what you are entering. We recommend this to ensure you avoid misspellings and issues with capitalization.
Other Tips
- If the time and date don't update to the current time and date, your Memoryboard has not fully connected to your WiFi network.
- Memoryboard works with standard home WiFi networks, which typically follow WPA2 (AES) and WPA3 security standards. It also works best on 2.4GHz bandwidth, which is the most common WiFi network frequency. That is, it works best with a standard WiFi that has a network name and password to access.
- Double-check your WiFi password if you're having trouble connecting.
- The right triangle icon to the right of the network name indicates signal strength; ensure your signal is strong and you're within range of the router.
- You can scroll through the list of networks to see all available networks.
- You can refresh the list of available networks by dragging down on the list.
- If you're still having trouble, some families have had success completing the Memoryboard setup using their mobile hotspot and then switching to their home's WiFi network after setup is complete.
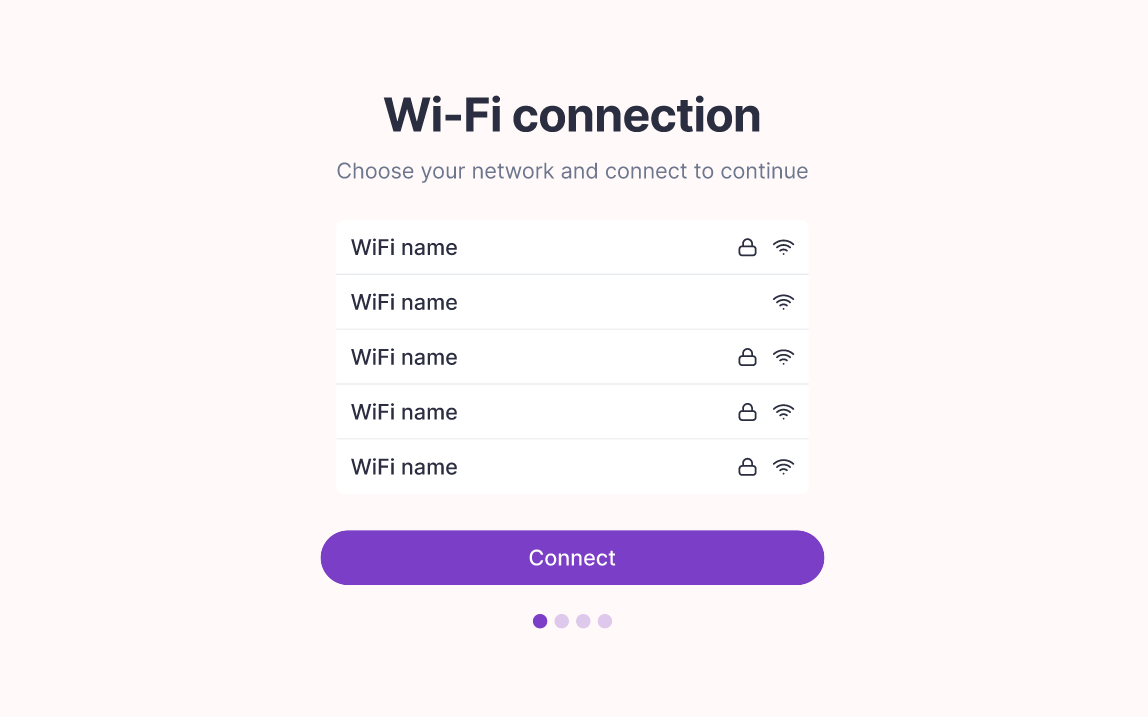 You will be prompted to connect to your WiFi on this screen